NederlandNederlands
 BelgiëNederlands
 DeutschlandDeutsch
 United kingdomEnglish
 IrelandEnglish
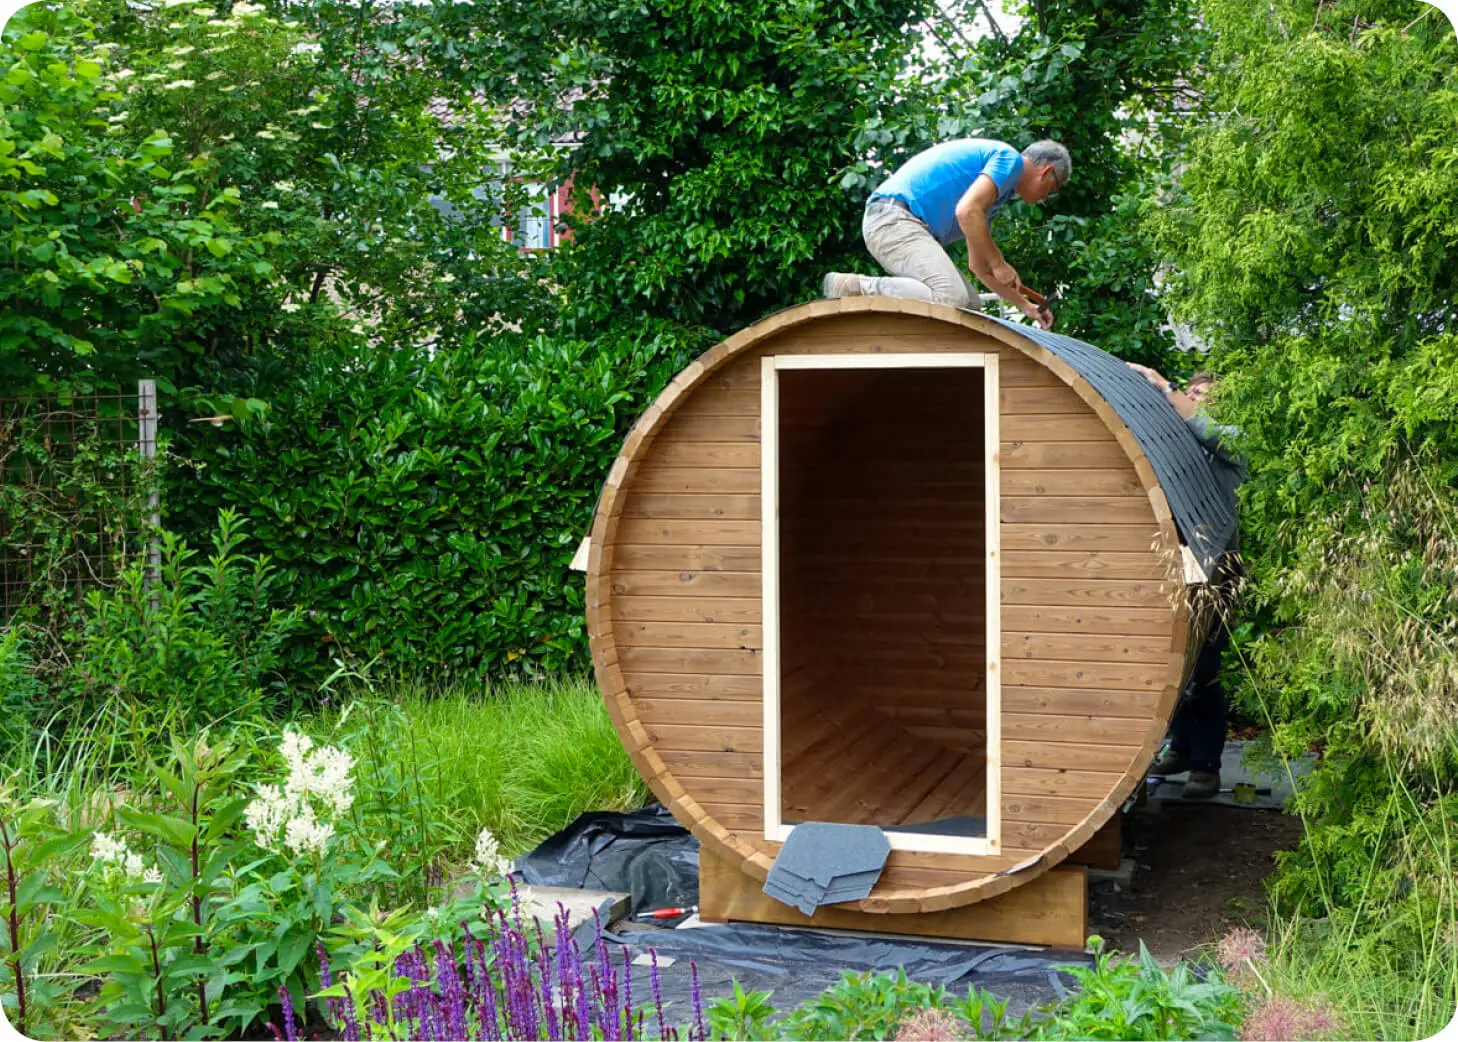
Assembly outdoor sauna
DIY outdoor saunas
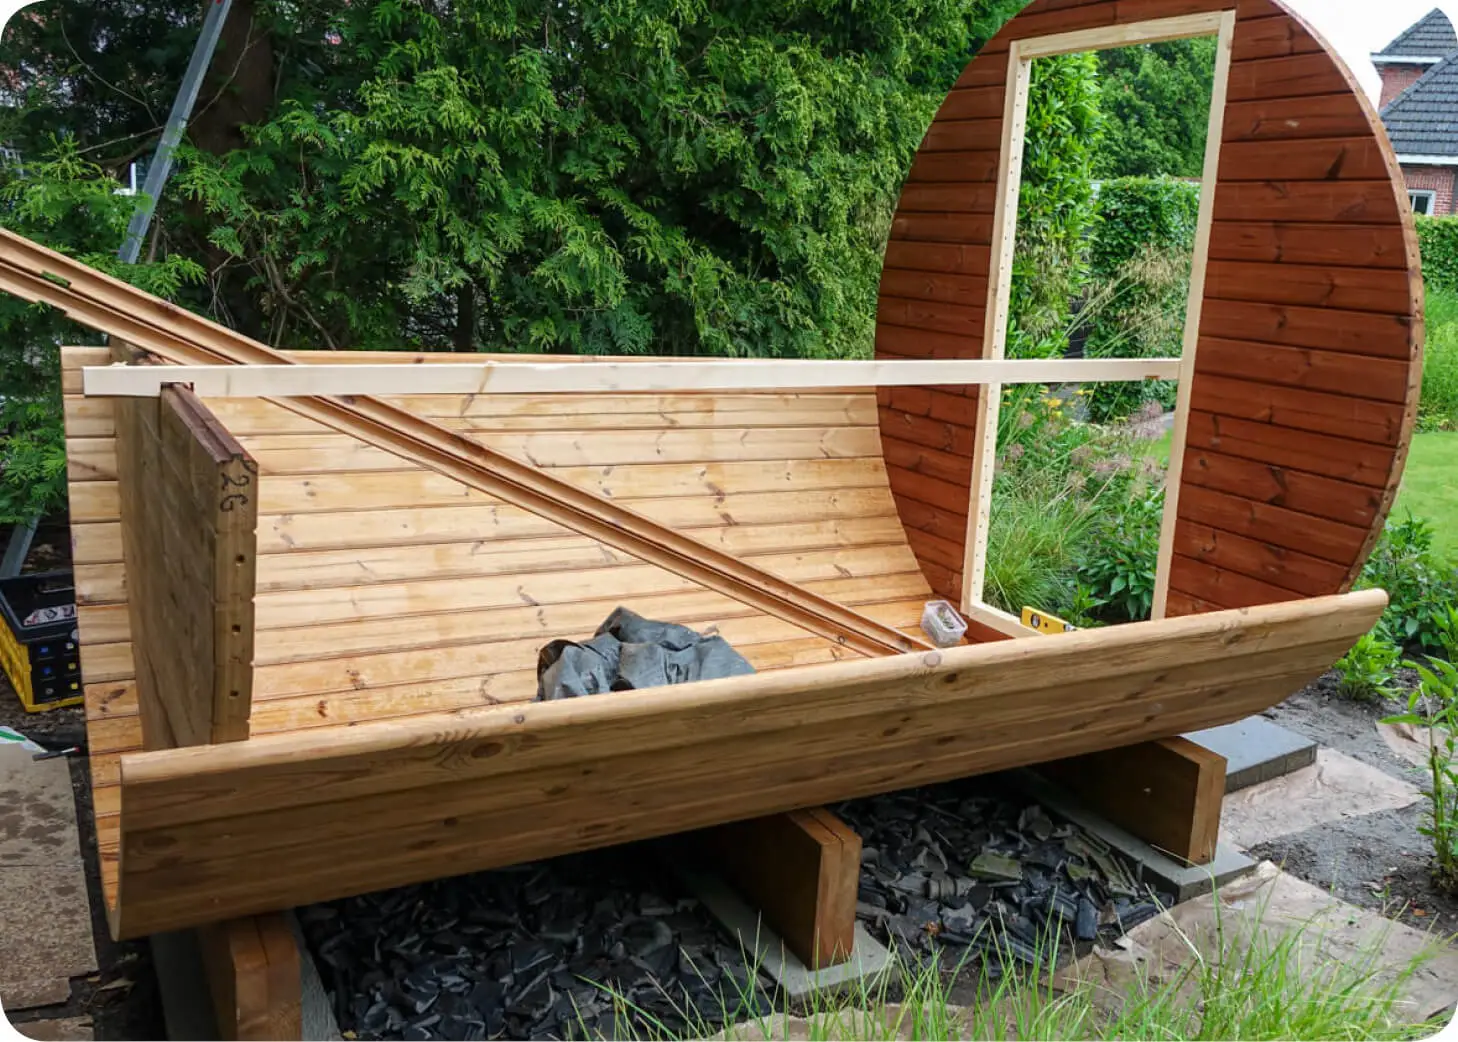
It’s a source of great satisfaction: heading out into the garden after a busy working week in the office or at home on your laptop and building your sauna yourself.
With our handy step-by-step guide, all our outdoor saunas can be built independently. Being good with your hands would be something of an advantage, of course. Two people will be able to assemble the sauna in approximately 1 to 2 days (depending on the model and any extras). To make it easier to assemble, we'll give you some tips for proper preparation.
1. Surface underneath the outdoor sauna
Fully paved:
The outdoor sauna can be sited almost anywhere. What’s important is that all surfaces must be 100% level. We recommend that you choose a paved surface, such as paving slabs, concrete or clinker bricks. Give some thought in advance to where you'd like to position the sauna in your home and clear this space. If you don’t have a flat surface in the garden, you can create one beforehand, enabling you to assemble the sauna immediately once it has been delivered.
Paving under support legs only:
Another option is to have paving solely under where the support legs will go. That said, we'd advise you to fill the remainder of the area under your outdoor sauna with gravel or wood chips (for example) so that no plants end up growing against the wood.

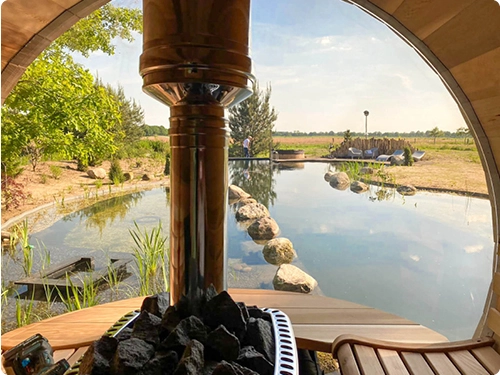
2. Location of the outdoor sauna
Give some thought in advance to whether or not this is where you want to have your sauna. Note such factors as the prospective view from the windows.
You might wish to rearrange your garden. In which case, you’ll definitely want to consider such additions as garden furniture or a matching veranda where you can sit after a sauna session. Or you might need some space for an outdoor shower to enable you to cool off straight after your sauna session.
3. Use the correct tool
All materials and parts are included with the instructions for assembly in the construction package. Check in advance that you have the right tools, and purchase (or borrow) any that you don’t have. The following tools are what you’ll need to assemble the sauna yourself:
|
|
4. If using an electric heater: get electricity supply put in on time
If you’ll be choosing a sauna with an electric heater, then a power supply will in many cases have to be installed. Our sales advisors will be able to tell you all about this, depending on the model of sauna and type of heater that you’ve chosen. We advise that an electricity supply should always be installed by a qualified electrician. The electric heater itself should also be connected by a qualified electrician. Arrange this in good time so that you’ll be able to start enjoying wellness sessions in your own garden just as soon as your outdoor sauna has been installed.

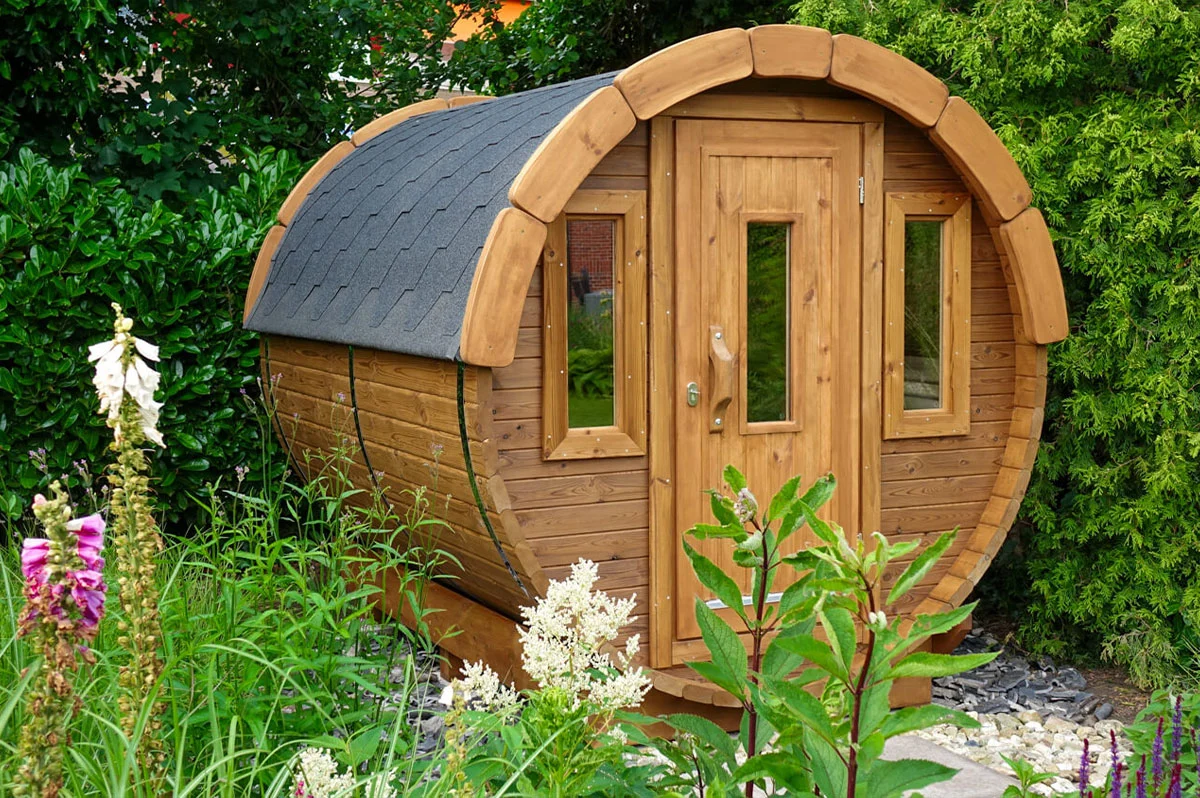
Building a sauna yourself
Already itching to start building a sauna yourself? See our range of outdoor saunas
Our assembly team is ready for you!
Haven't got the time or inclination to build your new sauna yourself? Then it goes without saying that our assembly team can help you! For further information on the options, please feel free to get in touch with us with no obligations.
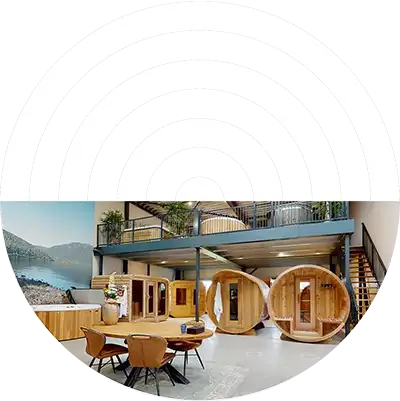
Visit our showroom!
You are very welcome to visit our experience showroom in Dronten or Maastricht to gather further inspiration and consult our sales advisors for tailored guidance.